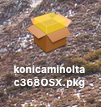
Before you begin adding a printer to your OSX computer, please download the konicaminoltac368OSX.pkg file via this link: Konica Minolta Mac OSX Drivers.
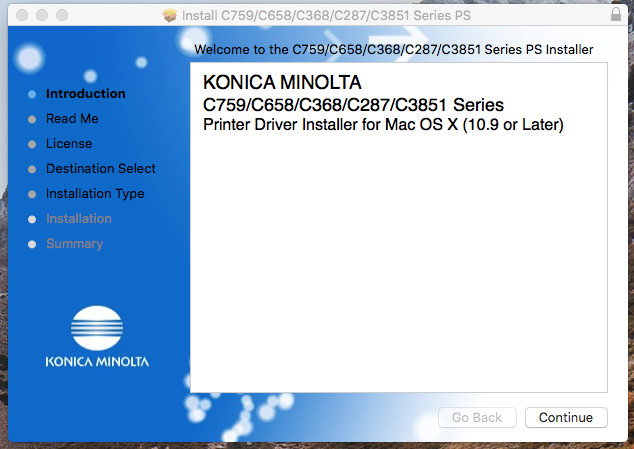
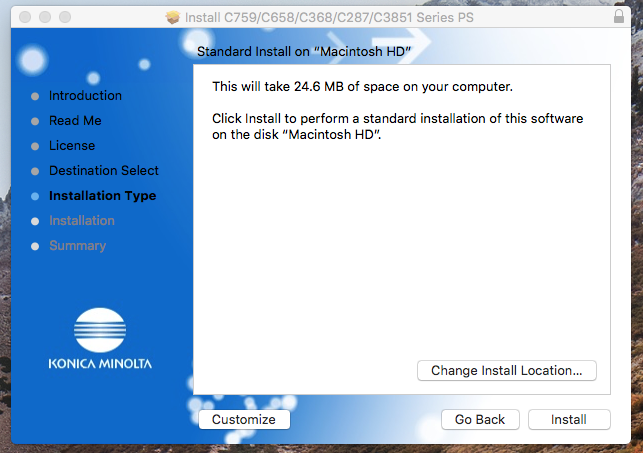
- After downloading the konicaminoltac368OSX.pkg file, open it to bring up the Install dialog.
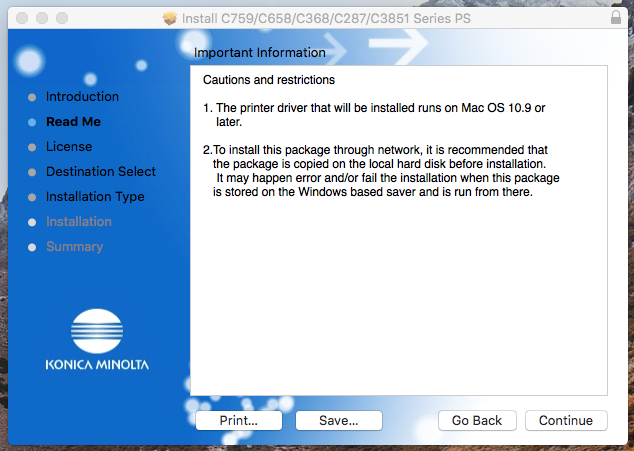
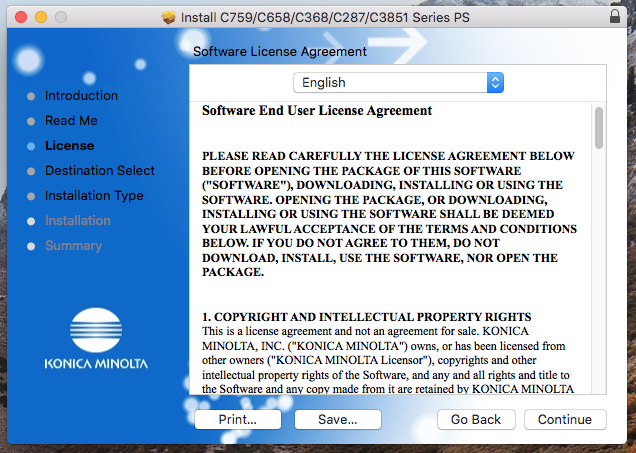
- Select Continue on this and the next TWO screens.
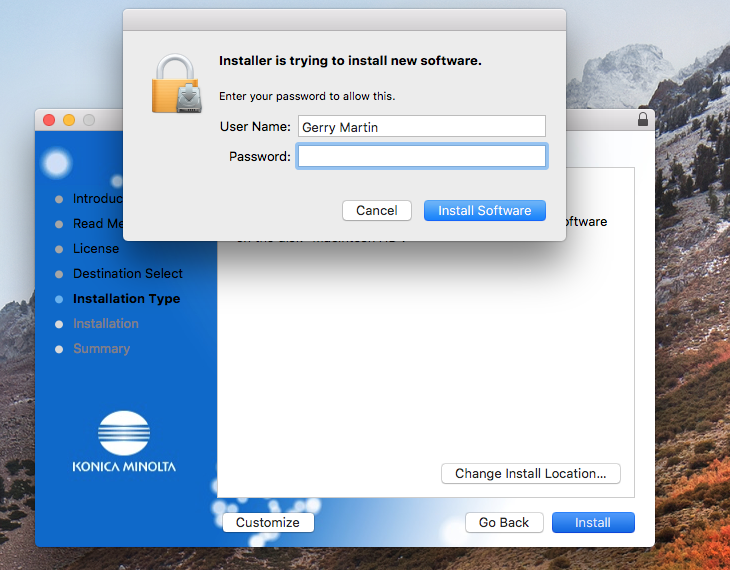
- When you select Install on this screen, your Mac will prompt you to enter your credentials to finish installing the software.
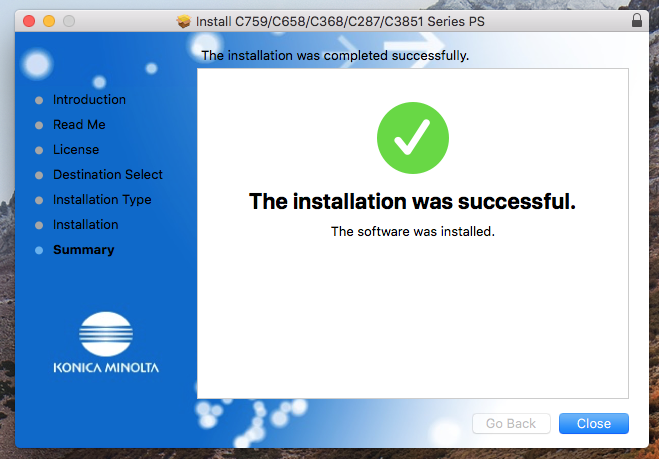
- When you select Install Software the printer software will complete installation and you can now select Close.
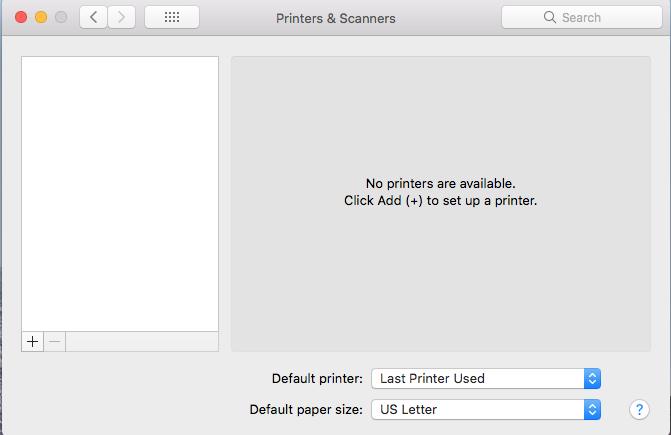
- Now open the System Preferences folder
and select the Printers and Scanners option from the list.
- This will bring up the Printers and Scanners dialog box which may be empty (as shown below) or you may have other printers already populated in the list.
-
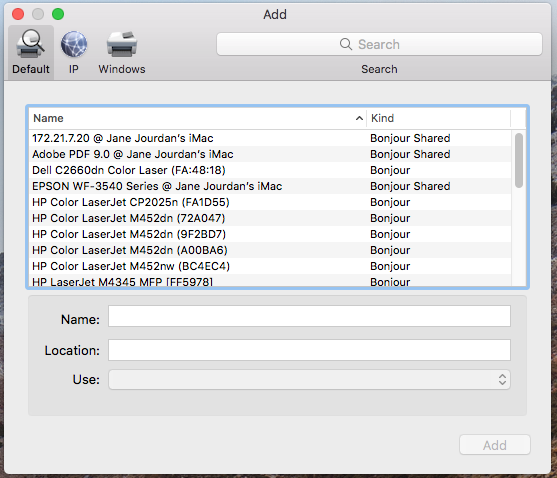
Click the + to bring up the ADD dialog box.
-
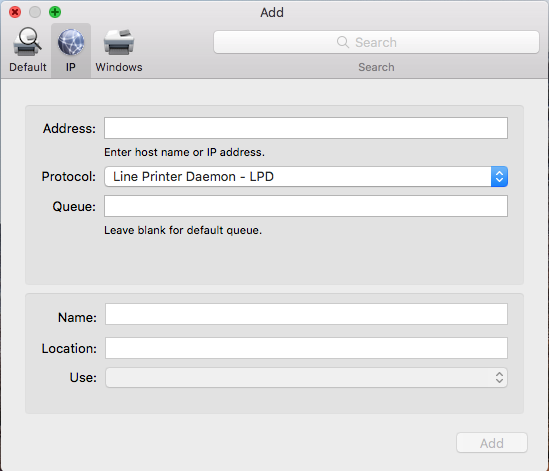
From here select the IP button.
-
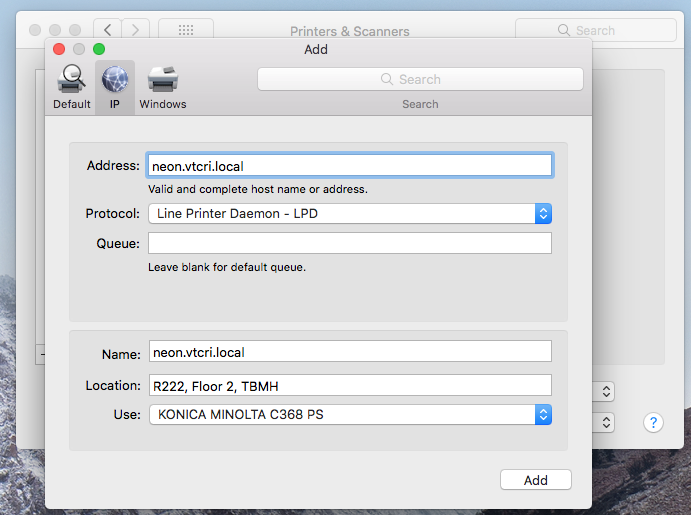
The ADD dialog box will change to the following entry area.
-
From here you can add the following information:
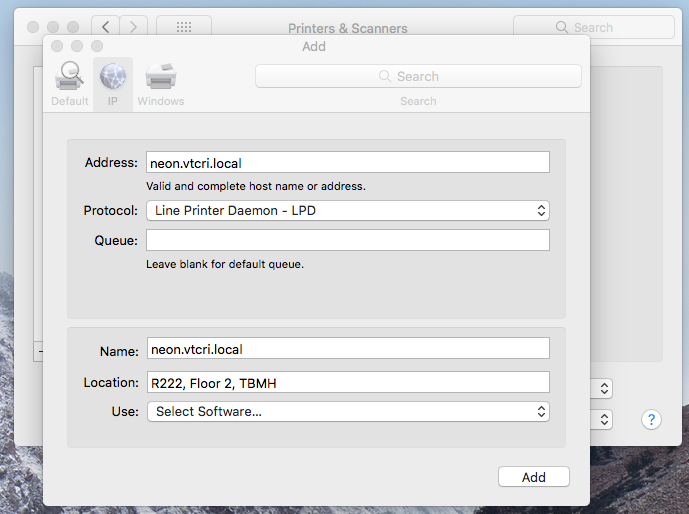
Address: XXXX.vtcri.local (where XXXX is the name of the printer you are adding)
Protocol: Line Printer Daemon - LPD
The Name and Location areas below will populate with the information that the printer gives your computer.
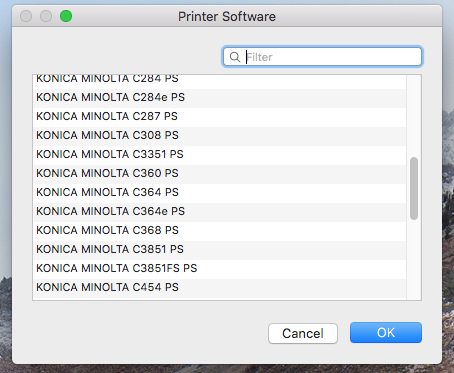
Use: choose Select Software. This will open up a new dialog box. Choose the KONICA MINOLTA C368 PS option and select OK. - The Add Dialog box will now look like the image below.
-
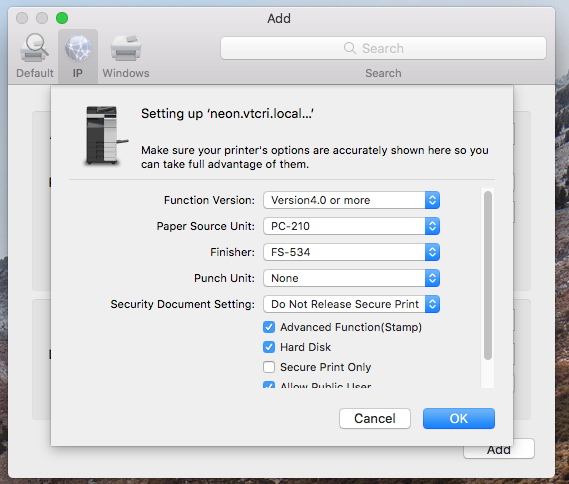
Select Add and in the final screen that will appear, choose the following options:
Function Version: Version4.0 or more
Paper Source Unit: PC-210
Finisher: FS-534
Punch Unit: None
Security Document Setting: Release Secure Print
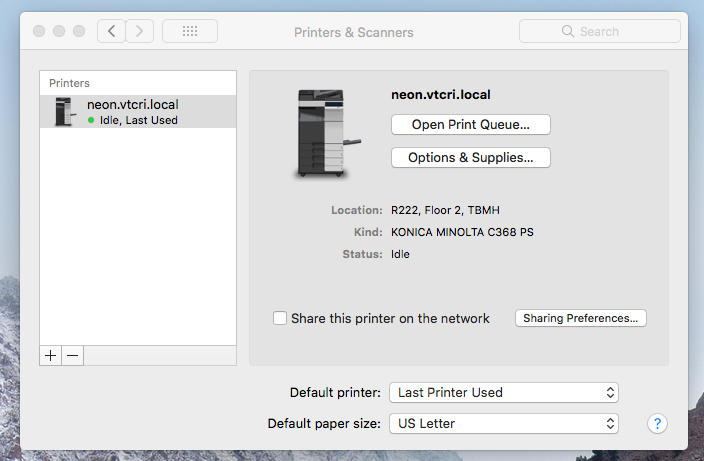
All other options can be left at the defaults selected. - Your Printers and Scanners dialog box will now have the printer you created populated in the list. You may now select it from the programs you wish to print from.
Your printer is now ready for use with the applications you need to print from. If you run into issues or have questions you can always Start a Conversation.


Gerald Martin
Comments