If you wish to use a printer that is different than the one currently set on your Windows 10 PC (for example, you normally were working on the 3rd Floor of Riverside 2 and now you are working on the 1st Floor of Riverside 4), follow the steps below.
- After logging onto your PC, select the Start Menu in the lower left hand side of your desktop and select the icon that looks similar to a cog or wheel.
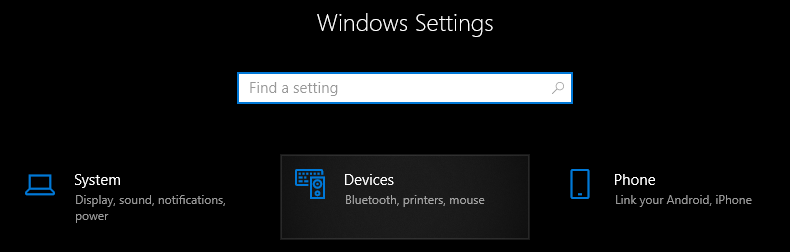
- In the Windows Settings window that loads, select Devices.
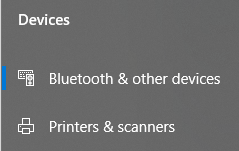
- On the left hand side of your screen, under Devices you will select Printers and Scanners.
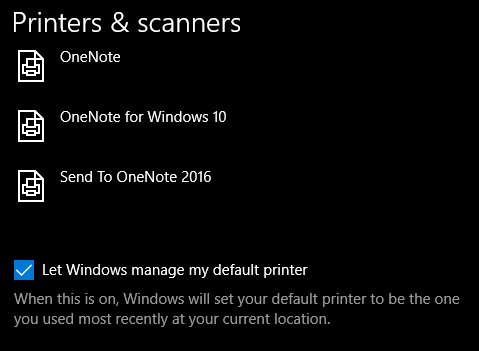
- Scroll down the Printers and Scanners that loads until you get to the option that reads: Let Windows manage my default printer. Uncheck that box.
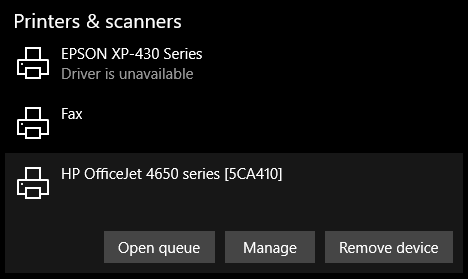
- Now scroll back up the Printers and Scanners page until you see the printer you want to set as your new Default Printer (in this example, I am using a HP Officejet printer). Left-Click on the printer once.
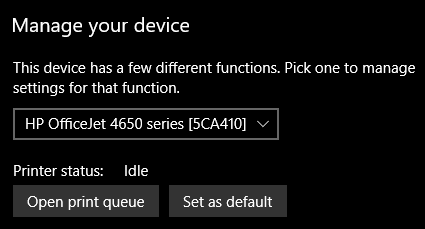
- Select Manage from the options that appear under the printer's name.
- On the Manage your device screen that loads, look for the option that is labeled: Set as default. Select that option.
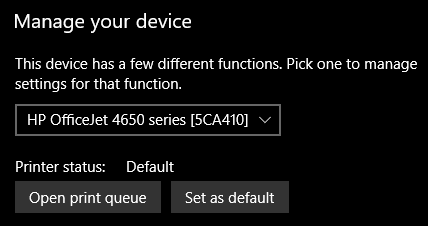
- Now you will see Printer status: change from Idle to Default.

Once you've finished step 8, you can close the Settings window and when you open something you'd like to print it will have this new printer selected by default. If you had software running while you completed this process (such as Microsoft Word or Adobe Acrobat) you may need to close the item and reopen it for it to display the new default printer but you can always select the correct one from the dropdown in your software if you are unable to close the program at this time.
Gerald Martin
Comments