Overview of Cloud Recordings
When you want to record a meeting please choose Record to the Cloud. Your videos, audio, and chat texts are archived on the Zoom server temporarily, however the video is also copied to your Kaltura account at video.vt.edu and will remain there indefinitely. You will receive two email confirmations when the video is ready on your Zoom account (link will be provided in the email) and at video.vt.edu.
Note: For Instructors and admin, your meeting recordings will also appear in My Media in Canvas.
Enabling Cloud Recording
Account
- Sign-in to virginiatech.zoom.us portal, to edit account settings.
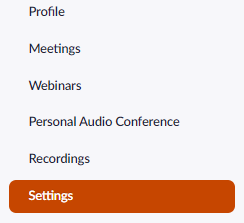
- Navigate to the settings tab
- Within this Settings menu, select the recording tab.
- Navigate to the Local Recording section and disable this setting. (Recording directly to a computer has proven to be unreliable.) Verify that the Cloud Recording setting is enabled. Review the cloud recording settings and choose the options that are suitable for your needs.

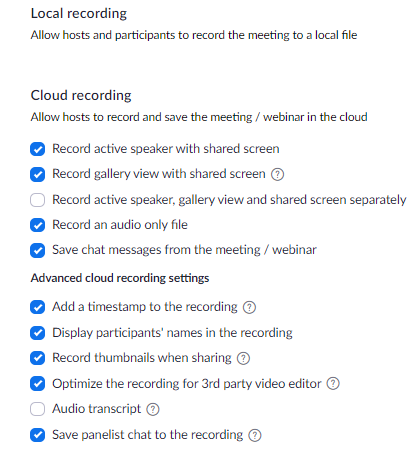
Record active speaker with shared screen: Record both active speaker view and shared content on the same video.
- Record gallery view with shared screen: Record both gallery view and shared content on the same video.
- Record active speaker, gallery view and shared screen separately: Select the recording layout types that you want to record as separate videos.
Note: By selecting this file type for cloud recordings, you will see the shared screen recording beside the active speaker / gallery view.
Audio and chat
- Record an audio only file: Only receive an M4A file with a recording of the audio.
- Save chat messages from the meeting / webinar: Receive a TXT file with the transcript of in-meeting chat messages.
Advanced settings
- Add a timestamp to the recording: Add a timestamp of the meeting to your cloud recordings. The time will display in the host's timezone.
- Display participants' names in the recording: Add participants' name to the bottom-right corner of their video.
- Record thumbnails when sharing: Include a thumbnail of the presenter when screen sharing.
- Optimize the recording for 3rd party video editor: Generate your cloud recording video files with a standard format that is compatible with 3rd party video editors. This may increase file size.
- Audio transcript: Automatically transcribe your cloud recordings.
Starting a Cloud Recording Within the Zoom Application
Note: Only hosts and co-hosts can start a cloud recording. To record a meeting to the cloud:
- Start a meeting as the host.
- Click the Record button in the Zoom toolbar
- To stop recording, click Pause/Stop Recording. Ending the meeting will also stop the recording, as well.
Once the recording has been stopped, the recording must be processed before viewing. Zoom will send an email to the host's email address when the process is completed.

Setting up Automatic Recordings when Scheduling a Meeting
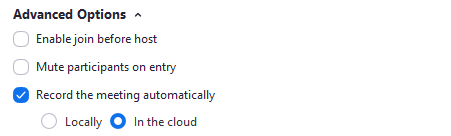
When scheduling a meeting you can also choose to setup the meeting to record automatically. Under the advanced option setting enable record automatically, when needed.
Note: Again, it is highly recommended that the “In the cloud” option be utilized for meeting recordings. Recording to a server is much less susceptible to failing.
Brad Anglin
Comments
greysed
To edit the recorded video, I use SolveigMM HTML5 Video Editor (official version https://www.solveigmm.com/en/products/html5-cloud-video-editing/) - an advanced video editor that allows you to manage any content. With it, you can cut and merge videos, add transitions, text, graphics, video overlay, voiceover. SolveigMM HTML5 Video Editor is the only online editor with smart rendering.